Nail art has become one of the most expressive forms of personal style, with millions of people worldwide using their fingertips as a canvas for creativity. Whether you’re scrolling through social media or walking down the street, beautifully designed nails are impossible to ignore. Yet not everyone has the time, budget, or access to a professional nail salon — and that’s exactly where flower press on nails have stepped in to change the game.
Combining the charm of delicate floral designs with the convenience of at-home application, flower press on nails have surged in popularity among beauty enthusiasts of all skill levels. They offer an impressive range of styles, from subtle pastel blooms to bold botanical statements, all without the hefty salon price tag. Beyond affordability, they’re gentle on natural nails and easy to switch out whenever your mood changes.
In this article, we’ll walk you through everything you need to know about flower press on nails — from selecting high-quality products and applying them flawlessly to removing them safely and pairing them with complementary beauty trends like DIY tooth gems. Whether you’re a seasoned nail art lover or just starting out, this guide will help you elevate your style with confidence.
The Rise of Flower Press On Nails in Modern Nail Art
Flower press on nails are pre-designed artificial nails featuring floral patterns — from dainty daisies and romantic roses to intricate botanical illustrations — that adhere directly to your natural nails using glue or adhesive tabs. No UV lamps, no salon appointments, and no waiting for polish to dry. Just peel, press, and you’re ready to go.
Their rise in popularity isn’t accidental. Social media platforms have turned nail art into a full-blown aesthetic movement, with creators showcasing elaborate designs that inspire millions of followers daily. Flower motifs, in particular, have become a staple of this movement because they translate beautifully across seasons — think cherry blossoms in spring, sunflowers in summer, and deep burgundy florals in autumn. Press-on nails make these looks accessible to anyone, regardless of artistic skill or budget.
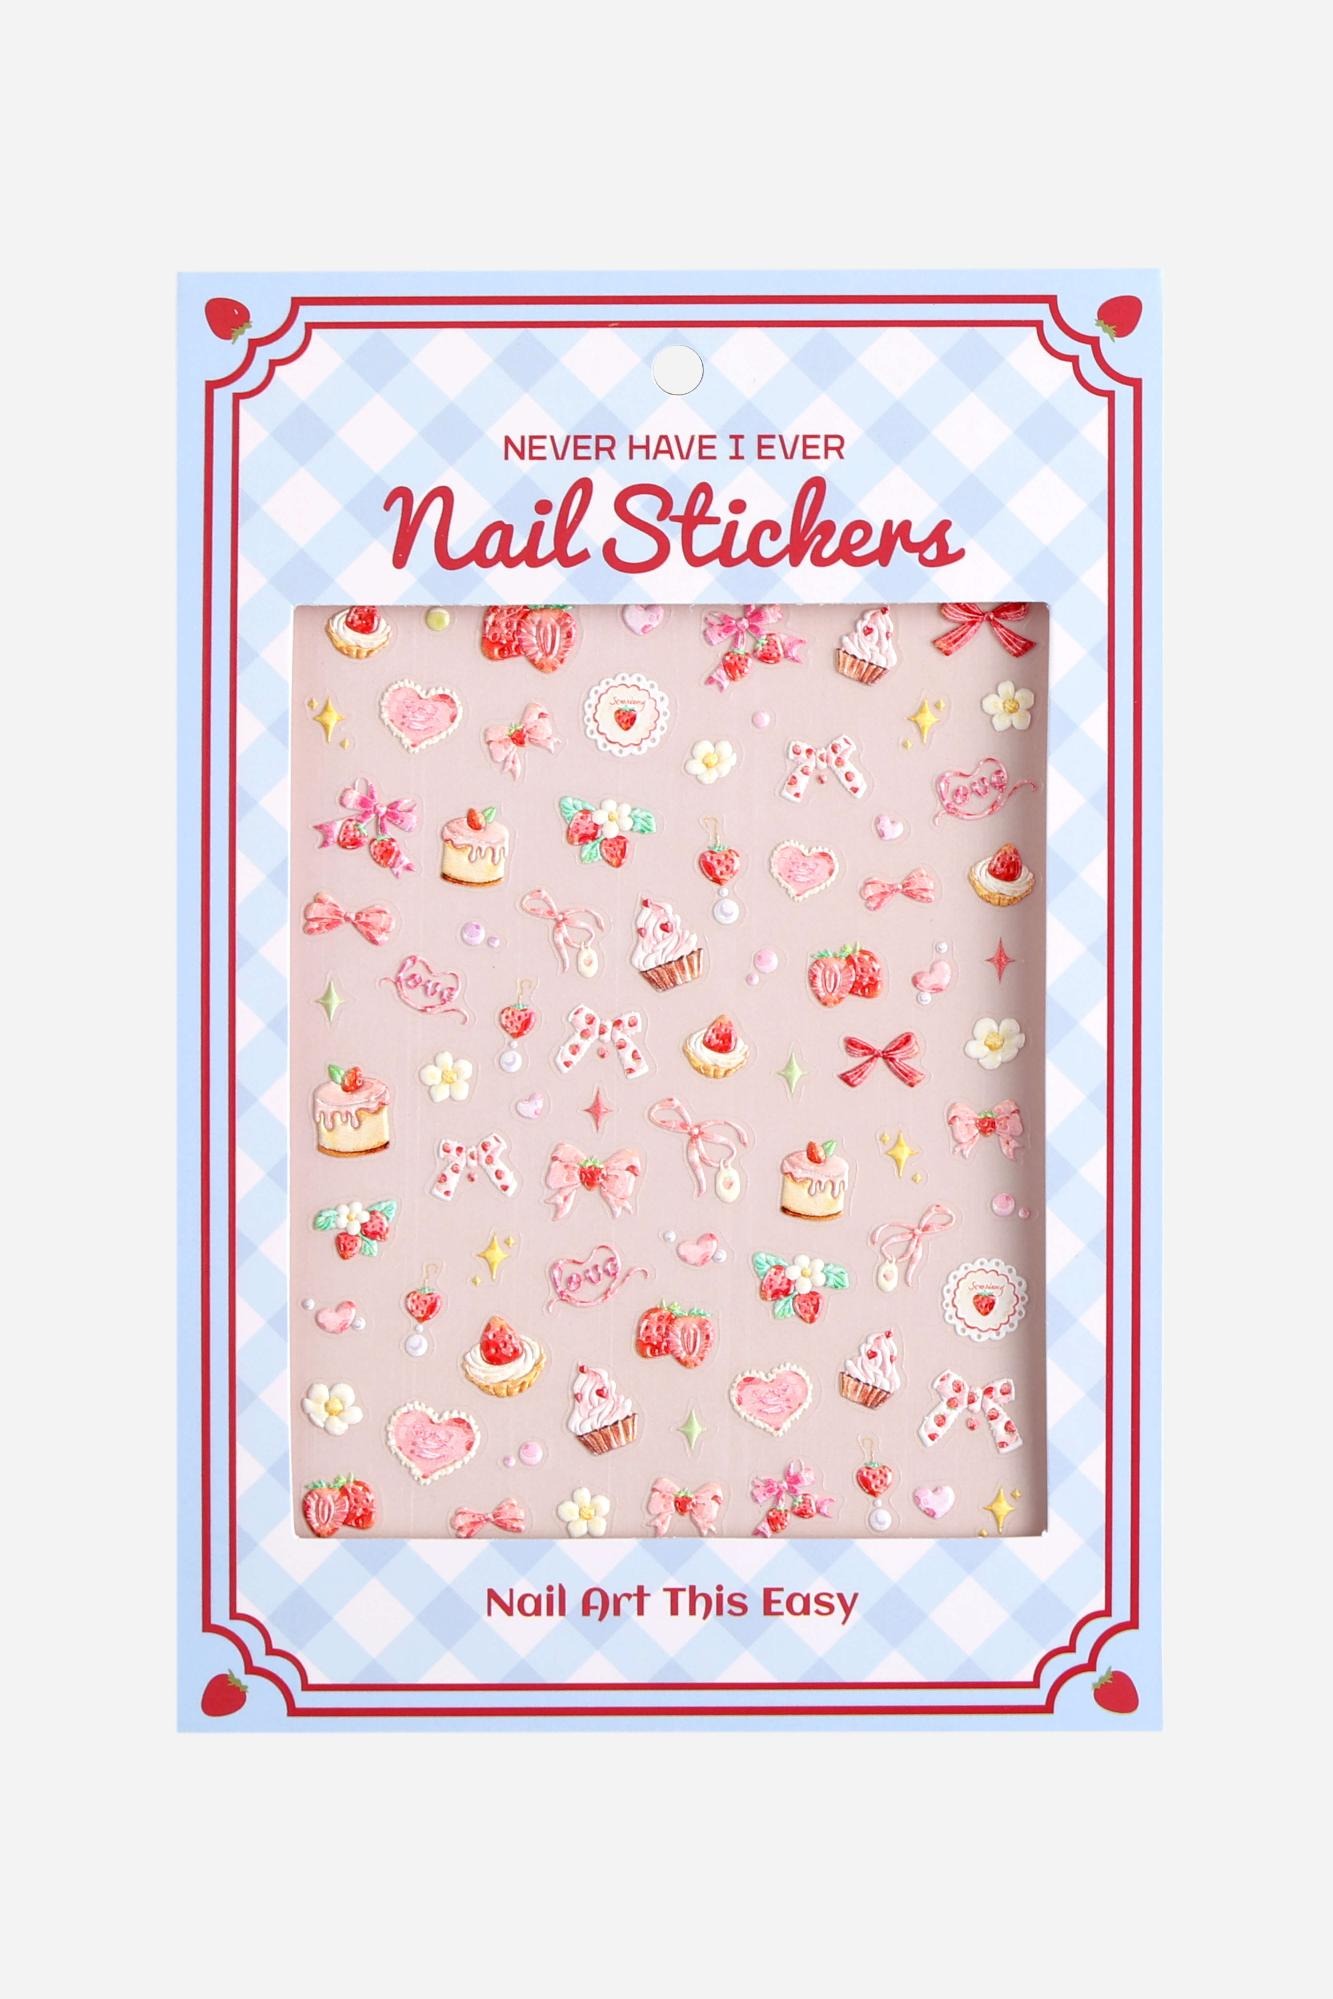
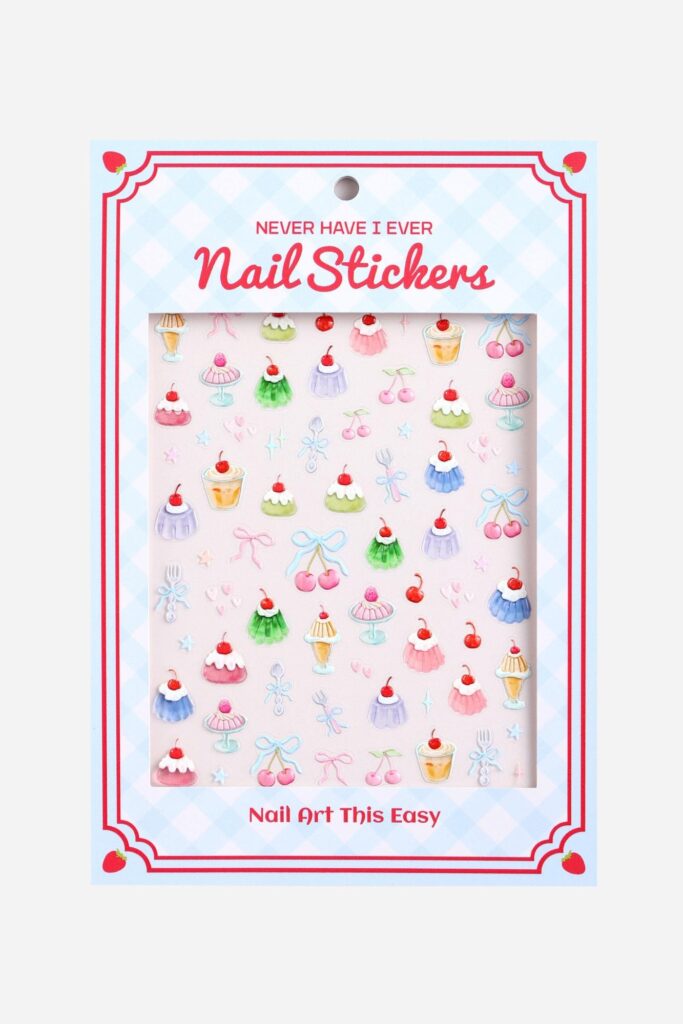
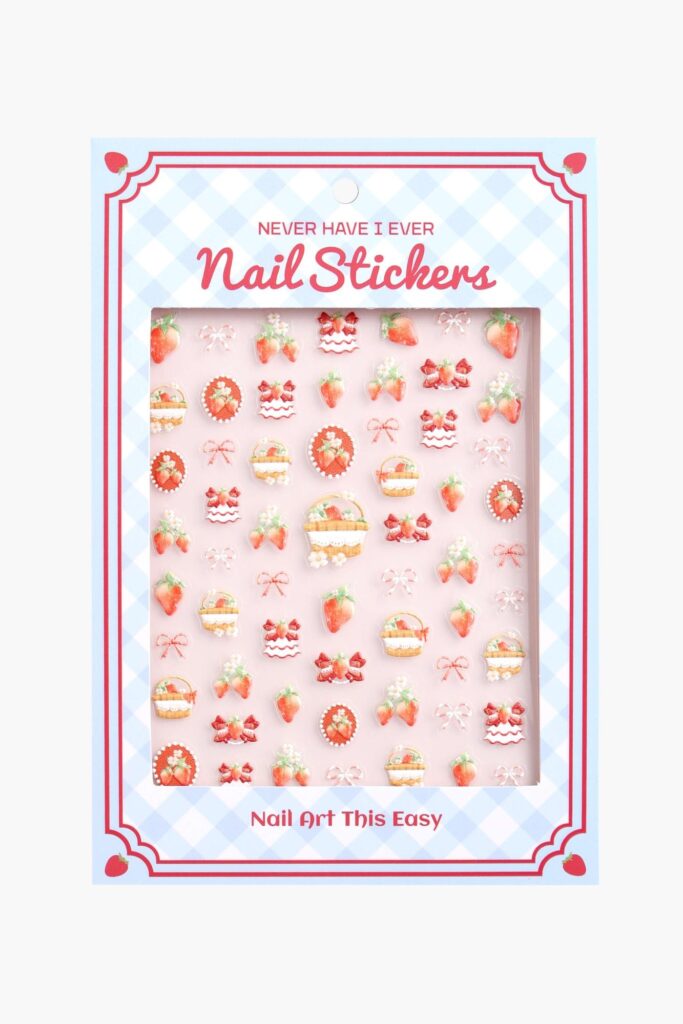
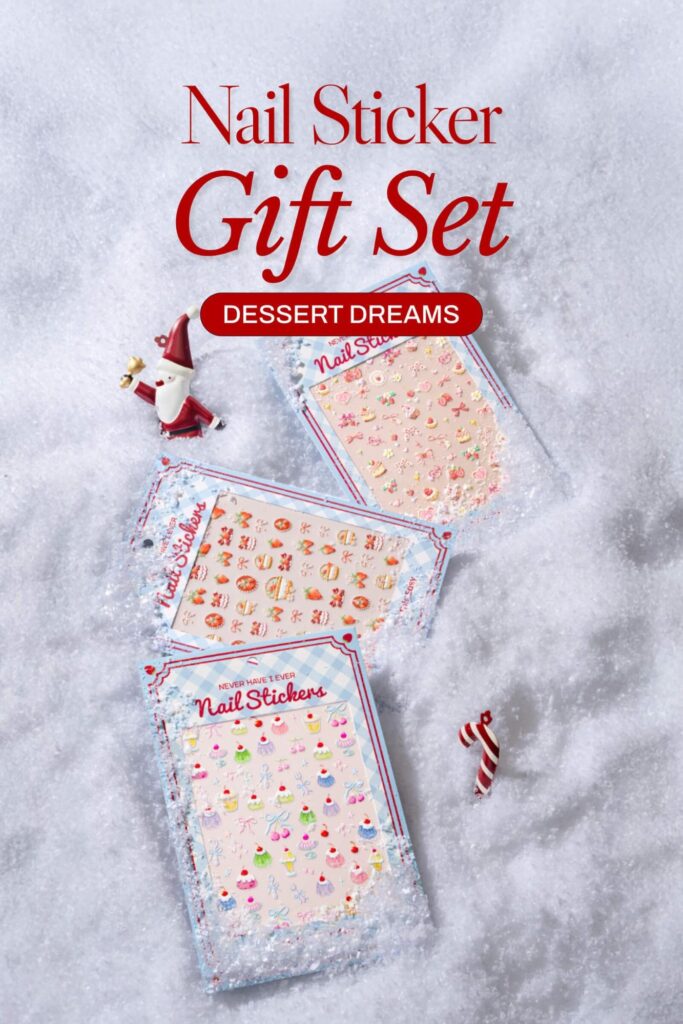
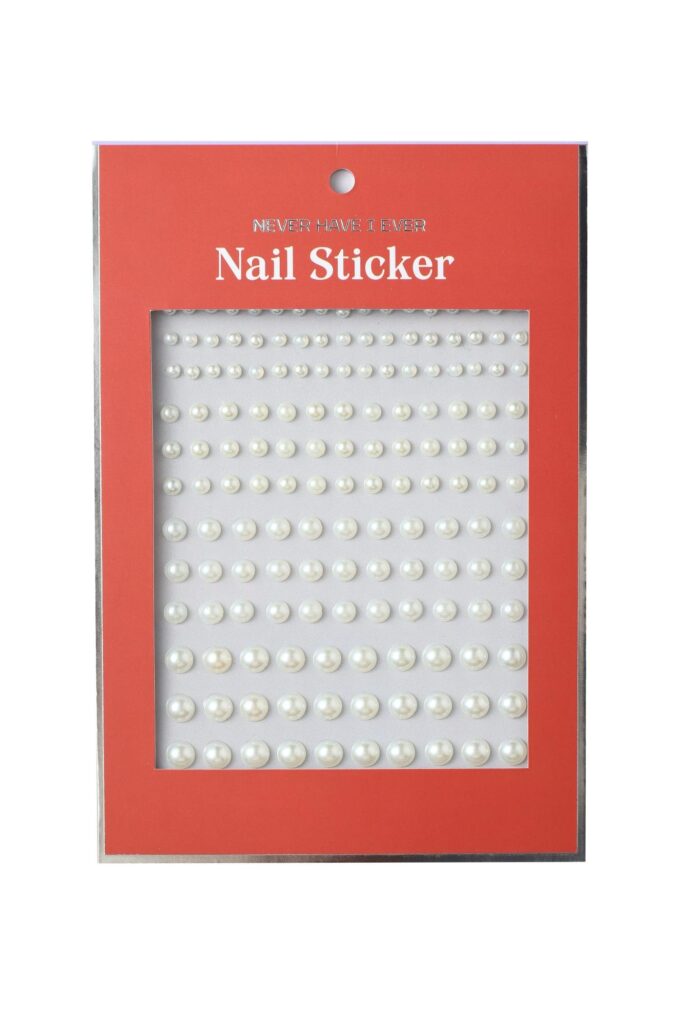
What truly sets high-quality flower press on nails apart from basic drugstore options is the craftsmanship. Premium sets often feature hand-painted details, dimensional textures, and gel finishes that genuinely rival professional salon work. Brands like Never Have I Ever have helped lead this shift, offering boutique-quality floral designs that beauty enthusiasts embrace not as a compromise but as a legitimate form of self-expression. This shift in perception has fueled a booming market of boutique nail brands catering to every aesthetic imaginable.
The trend also connects naturally to the broader DIY beauty movement, where people are reclaiming control over their appearance at home — including experimenting with accessories like DIY tooth gems alongside their nail looks for a fully coordinated, editorial-inspired aesthetic.
How to Choose High-Quality Press On Nails for Lasting Beauty
With countless options flooding the market, finding press-on nails that actually look stunning and stay put requires knowing what to look for. The material is your first consideration. Acrylic press-on nails tend to be more rigid and durable, making them ideal for longer wear, while gel-based sets offer a more flexible, lightweight feel that mimics the natural movement of your fingers. For flower press on nails specifically, gel finishes tend to showcase intricate floral details more vividly, giving designs that glossy, dimensional quality you’d expect from a professional manicure.
Adhesive quality is equally critical. Sets that include both nail glue and adhesive tabs give you flexibility — tabs work well for short-term wear and are gentler on natural nails, while glue provides a stronger bond for events or extended use. Avoid sets where the adhesive feels thin or leaves residue, as these are signs of lower manufacturing standards.
When evaluating design authenticity, especially for floral patterns, look closely at product images. High-quality flower press on nails will show clean linework, consistent color saturation, and layered details rather than flat, printed decals. Dimensional elements like raised petals or embedded foil are markers of premium craftsmanship worth the investment.
Brand reputation matters more than price alone. Before purchasing, check verified customer reviews on multiple platforms, paying attention to comments about longevity, fit accuracy across nail sizes, and how the design holds up over several days. Look for brands that clearly list their materials and are transparent about safety standards, particularly whether their products are free from harmful chemicals like formaldehyde and toluene. A reputable brand will also offer a wide size range within each set, ensuring a proper fit that prevents premature lifting.
Step-by-Step Guide to Applying Flower Press On Nails Easily
Preparation: Nail Prep for Optimal Adhesion
The secret to press-on nails that actually last starts well before you open the package. Begin by washing your hands thoroughly and using a cotton pad soaked in rubbing alcohol or nail polish remover to strip away any oils, lotion, or residue from the nail surface. Push back your cuticles gently with an orange stick — this creates a cleaner canvas and helps the press-on sit flush against your nail bed. Lightly buff the surface of each nail to remove shine, which dramatically improves adhesive grip. If you have naturally oily nails, applying a thin layer of nail primer or dehydrator before moving on will make a noticeable difference in how long your flower press on nails stay in place.
Application: Attaching Your Flower Press On Nails
Lay out all your press-on nails and match each one to the correct finger before applying anything — rushing this step is the most common cause of poor fit. For everyday wear, adhesive tabs are a gentle, residue-free option; for events or longer wear, nail glue delivers a significantly stronger bond. Apply a thin, even layer of glue to either the press-on or your natural nail, then position the press-on at a slight angle starting from the cuticle edge. Press down firmly for 20 to 30 seconds, applying consistent pressure across the entire surface. Work from your pinky to your thumb on each hand to avoid accidentally bumping freshly applied nails. To prevent air bubbles, avoid pressing down in a rocking motion — one steady, flat press is all you need. Check alignment from multiple angles before the adhesive fully sets, as small adjustments are still possible within the first few seconds.
Finishing Touches: Sealing and Styling
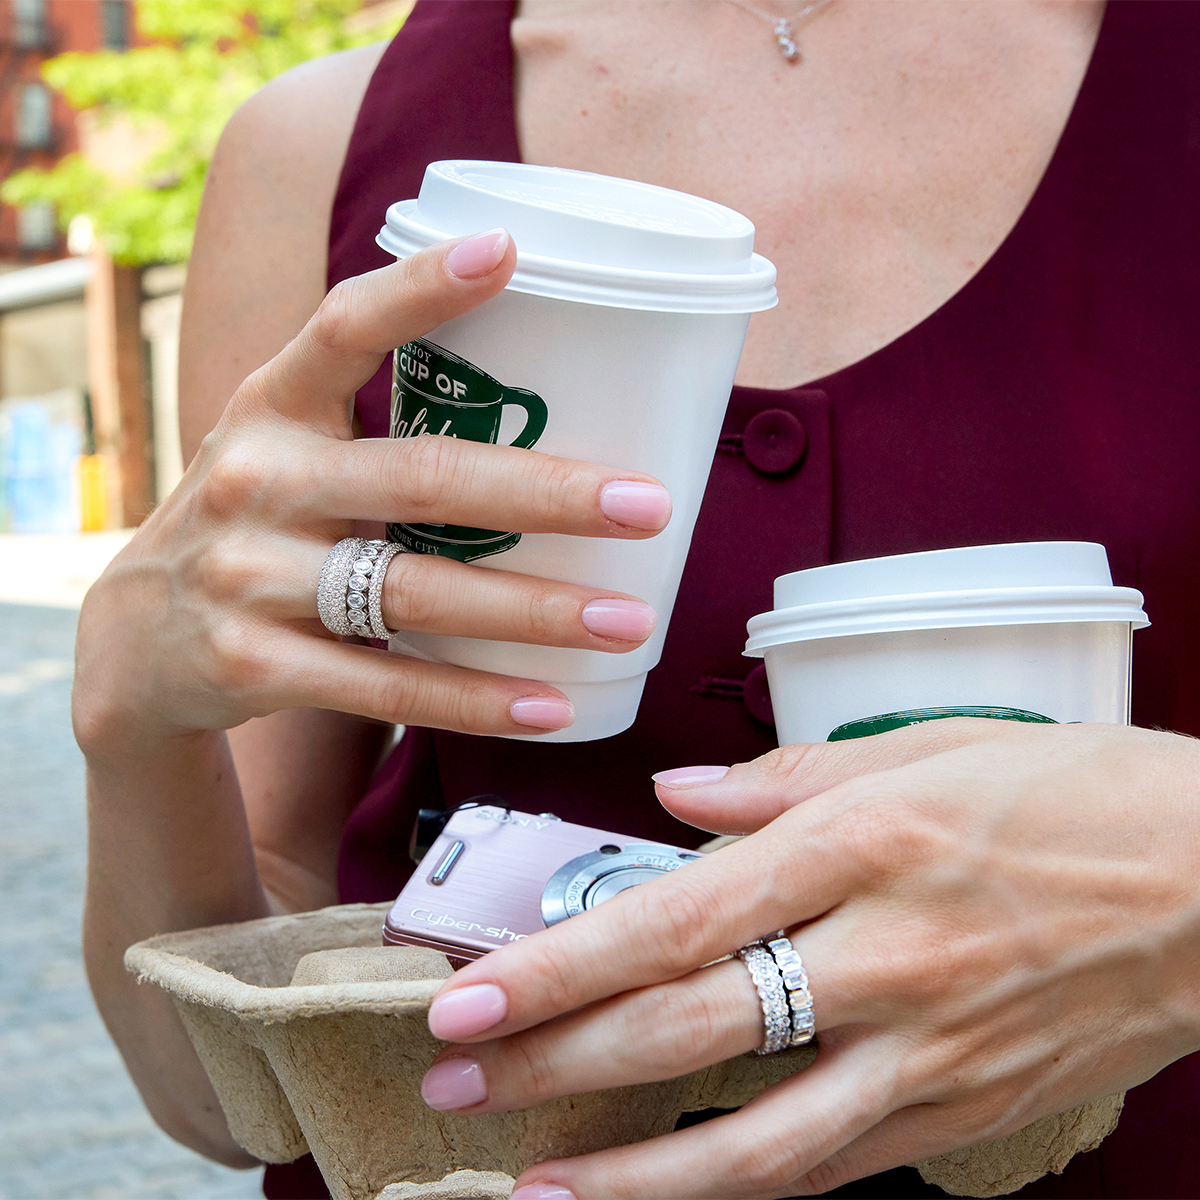
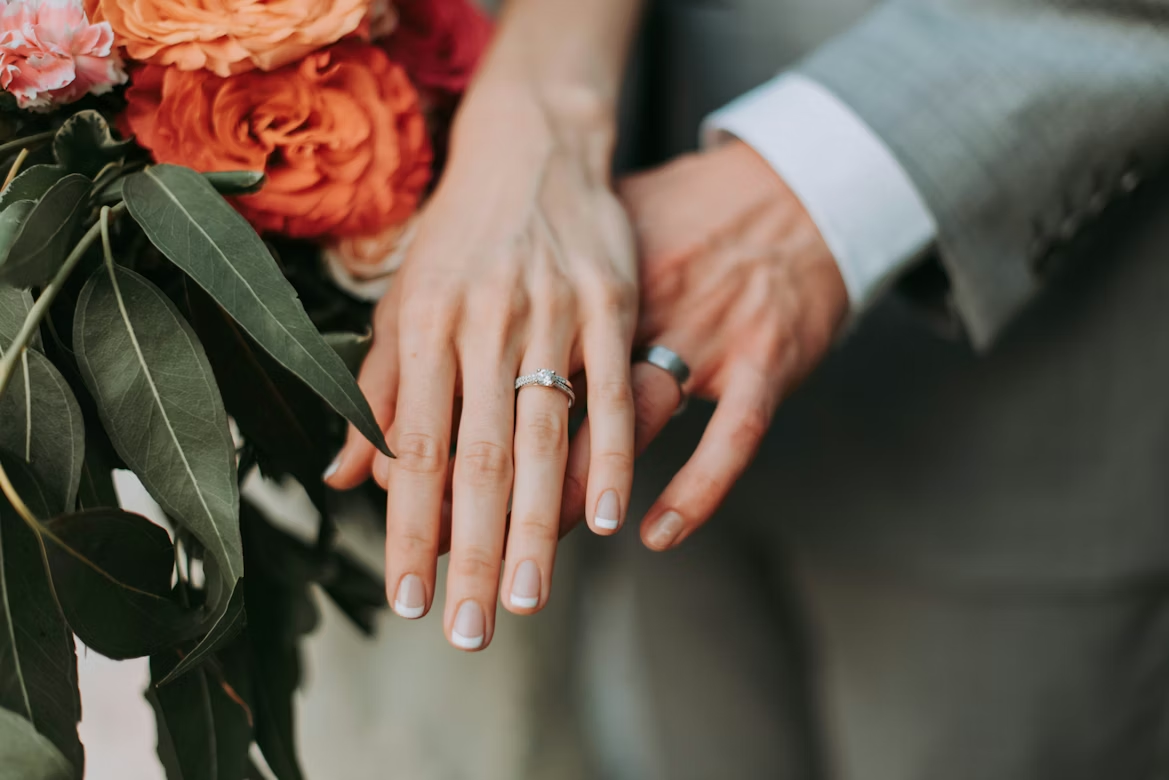
Once all your flower press on nails are applied, use a fine nail file to smooth any edges that extend slightly beyond your natural nail, filing in one direction to avoid stress on the bond. A thin layer of clear top coat applied over the entire nail — including the seam where the press-on meets your skin — seals the edges and adds an extra layer of protection against lifting. Allow everything to set for at least 10 minutes before exposing your nails to water. For a cohesive look, consider pairing bold botanical designs with minimalist jewelry or complementing delicate floral nails with a soft, monochromatic outfit.
Safe and Simple Removal of Press On Nails
Removing press-on nails correctly is just as important as applying them well — rushed or forceful removal is the primary cause of thinning, peeling, and weakened natural nails. The good news is that with a little patience, the process is straightforward and completely painless.
Start by soaking your nails in warm, soapy water for 10 to 15 minutes. This softens the adhesive bond significantly, particularly if you used adhesive tabs rather than glue. For glue-bonded flower press on nails, you can also use an acetone-free nail remover applied directly around the edges with a cotton swab, letting it sit for a few minutes to break down the bond without the harshness of full acetone exposure. Once the adhesive has loosened, use an orange stick or cuticle pusher to gently lift the edge of the press-on from the side — never from the top — and work slowly inward. If you feel resistance, soak for a few more minutes rather than forcing the nail off. Pulling against resistance is the single biggest mistake people make during removal.
After all the press-ons are off, you’ll likely notice some adhesive residue remaining on your natural nails. A gentle buff with a soft nail file will clear this without causing damage. Follow up immediately with cuticle oil massaged into each nail bed and the surrounding skin — this replenishes moisture lost during the removal process. Applying a strengthening base coat for a few days afterward gives your natural nails time to recover before your next set of press-ons. With proper care between applications, your nails will stay healthy and strong no matter how frequently you switch up your look.
Enhancing Your Style with Nail Art and DIY Tooth Gems
Flower press on nails are just one piece of a larger DIY beauty movement that’s reshaping how people express themselves outside the salon. One trend gaining serious traction alongside elaborate nail art is DIY tooth gems — small crystals or rhinestones applied to the surface of a tooth for a subtle, sparkling accent. Much like press-on nails, tooth gems require no professional training to apply at home and offer a temporary, customizable way to elevate your overall look. Never Have I Ever carries both press on nail sets and tooth gem kits, making it a convenient one-stop destination for those looking to explore this coordinated DIY aesthetic.
The pairing works surprisingly well from a styling perspective. For a festival or editorial-inspired look, bold botanical nail designs combined with a single tooth gem create a cohesive, intentional aesthetic that feels both playful and polished. For more everyday wear, delicate floral nails in soft pinks or whites complement a small crystal tooth gem without either element competing for attention. The key is treating both as accessories within the same visual story — keeping the rest of your makeup and jewelry relatively understated lets these statement details shine on their own terms.
Whether you’re dressing up for a special occasion or simply refreshing your daily look, combining nail art with complementary DIY beauty touches like tooth gems is an effortless way to signal creativity and confidence without overcommitting to a single trend.
Your Path to Effortless Floral Nail Beauty
Flower press on nails have genuinely transformed what it means to have a beautiful manicure — no salon appointment, no drying time, and no compromise on style. Throughout this guide, we’ve covered the essentials: understanding why these floral designs have become a cornerstone of modern nail art, how to identify high-quality sets worth your money, and the step-by-step process for applying and removing them without damaging your natural nails. We’ve also explored how pairing your nail look with complementary trends like DIY tooth gems can pull an entire aesthetic together effortlessly.
The most important takeaway is that great nails start with great preparation and the right products. When you invest in well-crafted flower press on nails and take the time to apply and remove them properly, the results genuinely rival professional work — at a fraction of the cost and effort. Beyond the practical benefits, there’s something deeply satisfying about curating your own look from start to finish.
So whether you’re drawn to soft, romantic florals for everyday wear or bold botanical statements for a special occasion, don’t hesitate to experiment. Personal style is meant to evolve, and press-on nails make that evolution wonderfully low-risk. Start with a design that excites you, follow the steps outlined here, and wear your creativity with confidence.