Looking to transform your home on the cheap?
One of the quickest ways to give your interior a makeover is with a new coat of paint. Painting is one of those magic home improvement fixes that can make a space feel totally different in just a weekend.
And the best part? You don’t need to be an artist to do it.
Painting has a reputation for being one of the most finicky tasks to get right when it comes to DIY home improvement. But there’s a reason that even professionals struggle to produce perfect results every time. The difference between a shoddy paint job and professional workmanship is all in the technique.
The good news is that with a little know-how, you can roll and brush your way to jaw-dropping finishes right at home.
Contents
- Why Interior Painting Is Worth the Investment
- Essential Prep Work Most People Skip
- Choosing the Right Paint for Each Room
- Pro Techniques for Flawless Walls
- Common Mistakes to Avoid
- Pulling It All Together
Why Interior Painting Is Worth the Investment
Interior painting consistently ranks among the most popular home improvement projects year after year.
And it’s not hard to see why.
As per a survey conducted by Clever Real Estate, interior painting (33%) is one of the three most common home renovation upgrades over the last five years (along with bathroom renovations).
Painting is so popular because it has such a huge impact on appearance but requires minimal budget compared to most home improvement jobs.
Whether working with experienced house painters in Grand Rapids or doing it yourself, residential painting services are one of the most cost-effective ways to improve any home.
One gallon of paint typically covers about 400 square feet. That’s enough to give an entire average bedroom a fresh look for less than $50 in materials.
Impressive, right?
Essential Prep Work Most People Skip
So you know that painting is a cheap and effective way to upgrade your home, but how do you ensure a professional-looking result?
As with any other trade, proper preparation is key.
Painting is one of those DIY tasks that seem straightforward until you start doing it. You open the can, dip your brush or roller, and start slapping the colour onto the walls.
Bad move.
The biggest difference between amateur and professional paint jobs is the prep work.
Prep work is boring. It’s the part nobody wants to do. You need to:
- Clean your walls thoroughly to remove dust, dirt, and grease
- Fill holes and cracks with spackle, then sand them smooth
- Remove outlet covers and light switch plates
- Apply painter’s tape on edges, trim, and ceiling
- Lay drop cloths to protect floors and furniture
Skipping prep work almost guarantees that you’ll have a paint job that peels, bubbles, and leaves imperfections underneath. An extra hour of prep time now can save days of frustration later.
Walls must be completely dry and free of dust and debris before the first coat of paint. It’s this one step that makes the biggest difference in how the paint looks and how long it lasts.
Choosing the Right Paint for Each Room
Paint isn’t all the same.
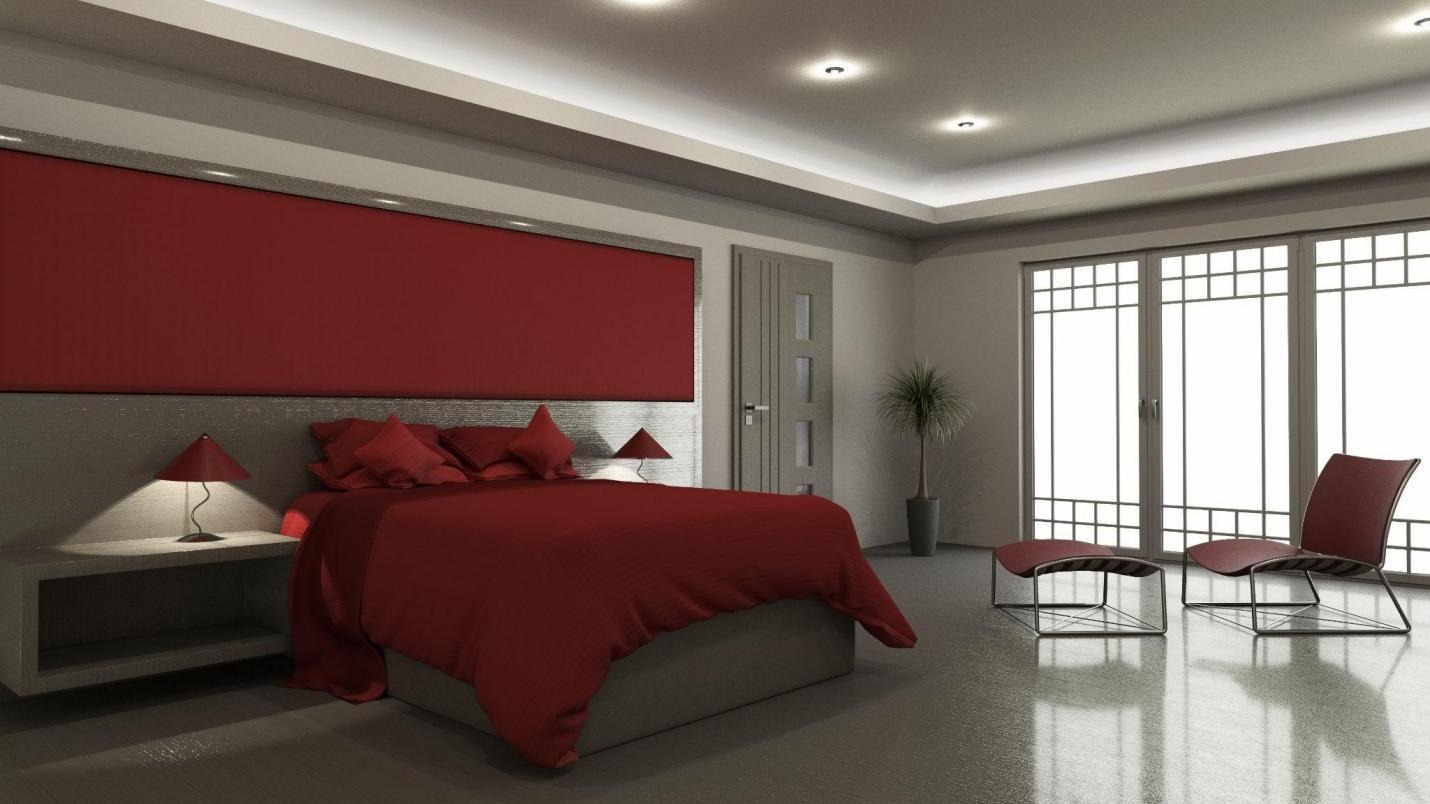
Different rooms in your home have different requirements when it comes to paint. The perfect paint choice for your bedroom may be a complete dud for the bathroom or kitchen. It pays to understand the difference between the various types of paint available.
You’ve got your flat and your gloss. But in between, there are plenty of options to suit your specific needs.
Let’s break it down real quick:
- Flat/matte: Hides imperfections and provides a low sheen look. Best for ceilings and low-traffic areas.
- Eggshell: Slightly more sheen than flat, easy to clean. Perfect for living rooms and bedrooms.
- Satin: Resistant to moisture, easy to wipe clean. Ideal for kitchens, bathrooms, and hallways.
- Semi-gloss: Highly durable and washable, great for trim, doors, and cabinets.
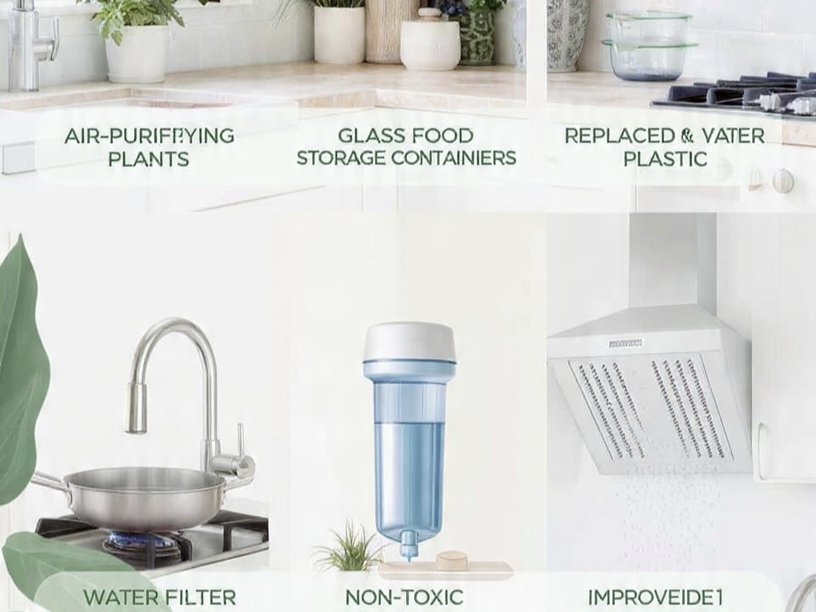
Low-VOC and zero-VOC paints are also becoming more popular with eco-conscious homeowners. These paint types are better for indoor air quality and safer for families with small children or pets.
When it comes to choosing colours, be mindful of the lighting in your home. Colour looks different under different lighting conditions. Test paint samples on your walls before committing to a full can.
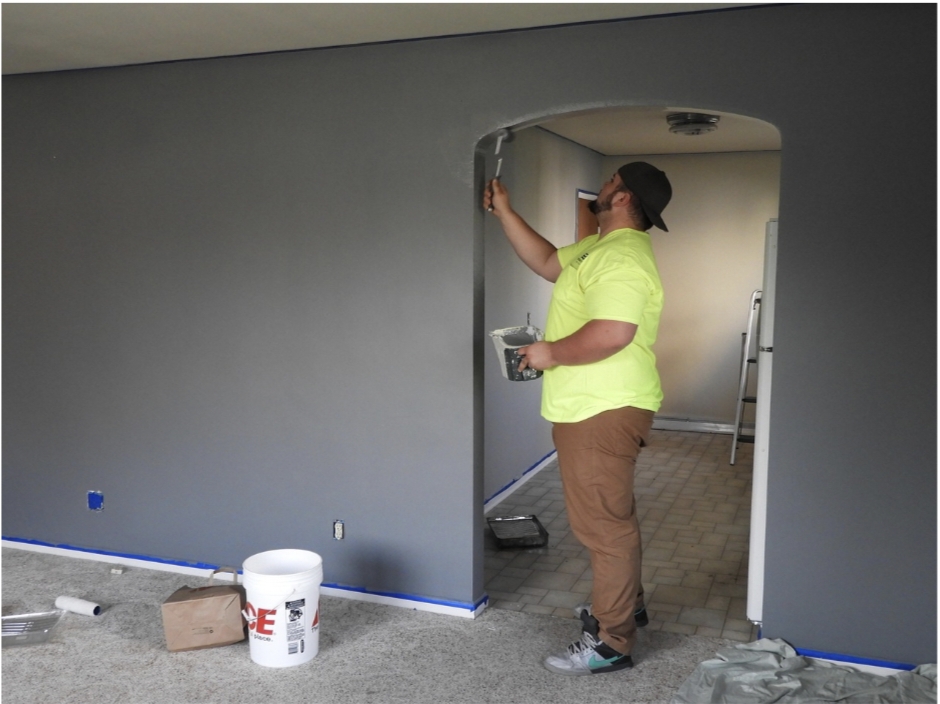
Pro Techniques for Flawless Walls
Don’t have access to expensive painting tools? That’s okay.
You don’t need any special gadgets or secret ingredients to roll and brush your way to professional-quality paint jobs. It’s all in the technique.
Let’s start with primer. Primer is the unsung hero of paint jobs. You’ll hear many people say that you don’t need primer for interior painting. But it really does help with paint adhesion and overall finish. Primer also helps to cover up darker colours and provides a more uniform surface for the paint to adhere to.
The next tip is to use the “W” technique when rolling. Paint the top, middle, and bottom of a three-foot section of wall, forming a “W” shape. Then fill it in without lifting the roller.
It’s also important to work from top to bottom and maintain a wet edge. A wet edge is a small strip of paint that’s still wet. If you let it dry, you’ll see lap marks from the roller on your wall.
Aim to apply two coats of paint, minimum. Even if you’re using a quality paint and primer, two coats will ensure full coverage and depth of colour.
It’s also wise to cut in before rolling. Cut in with a brush around edges, corners, and trim work before rolling the larger areas of the wall.
Common Mistakes to Avoid
We’d be lying if we said painting was an exact science.
The average person who attempts DIY projects makes mistakes, according to a report by Ruby Home (80%). Painting is no exception.
Avoiding mistakes is better than having to fix them later. Knowing what to look out for will help you to sidestep the pitfalls and get the best results first time.
Here are some of the most common interior painting pitfalls:
- Cutting corners on paint quality. Low-quality paint often requires more coats, covers poorly, and doesn’t last as long. Spend more money on quality paint and save yourself the headache later.
- Painting in extreme temperatures or humidity. High humidity or temperatures outside the 50-85°F range result in poor adhesion and longer drying times.
- Using too much paint on your brush or roller. Overloading your brush or roller will lead to drips, runs, and uneven coverage. Dip only a third of your brush in the paint and roll off excess on the tray before applying.
- Removing painter’s tape too early. Wait until the paint is dry to the touch but not fully cured before removing painter’s tape. Gently pull it off at a 45-degree angle for the cleanest lines.
- Rushing between coats. Be patient and let each coat dry fully before applying the next. Rushing results in tacky paint, peeling, and visible brush strokes.
Pulling It All Together
Interior painting is one of the best home improvement investments you can make. It’s affordable, transformative, and achievable for homeowners of any skill level.
As long as you follow these simple tips:
- Take the time to properly prepare the walls
- Choose the right paint type for each space
- Apply paint using professional techniques
- Avoid the common mistakes that ruin paint jobs
Whether you’re painting an accent wall or giving your entire home a refresh, these tips will help you to achieve stunning results.
Remember, take your time with prep, use quality materials, and apply paint with care. The difference between a mediocre paint job and a professional finish is all in the details.
So pick up a brush and get to it!