

Ultrasonic cleaners are widely used in industries ranging from jewelry and medical instruments to automotive parts and electronics. Known for their ability to deep clean even the most intricate and delicate objects, these machines use high-frequency sound waves to remove dirt, oils, and contaminants. However, like any cleaning tool, getting the best results from an ultrasonic cleaner requires more than just turning it on and placing your items inside. By following proper procedures and techniques, you can maximize the efficiency of your ultrasonic cleaner and ensure your items are cleaned safely and effectively.
In this guide, we’ll explore the key steps and best practices for using an ultrasonic cleaner to its full potential.
1. Choose the Right Ultrasonic Cleaner for the Job
Different ultrasonic cleaners are designed for different applications, so it’s essential to choose the correct machine for your needs. The factors to consider include:
- Tank size: Ensure the tank is large enough to accommodate the items you want to clean. Jewelry cleaners tend to be small, while industrial machines are larger for parts like engine components.
- Frequency range: Ultrasonic cleaners typically operate between 20 kHz and 120 kHz. Lower frequencies (around 20-40 kHz) are better for heavy-duty cleaning, while higher frequencies (above 40 kHz) are ideal for delicate items.
- Power: The power of the cleaner, measured in watts, influences its cleaning efficiency. Higher power units clean faster and more aggressively, but may not be suitable for delicate objects.
2. Use the Right Cleaning Solution
One of the most critical aspects of ultrasonic cleaning is selecting the proper cleaning solution. Water alone is usually insufficient for removing tough contaminants like grease, oils, or tarnish. Most ultrasonic cleaners work best when a suitable cleaning agent is added to the water. Here are some factors to consider when choosing a cleaning solution:
Types of Cleaning Solutions:
- Water-based detergents: General-purpose cleaners for jewelry, metals, and delicate items.
- Alkaline solutions: Effective for cleaning metals, removing oils, and degreasing.
- Acidic solutions: Ideal for removing rust or oxidation from metals but should be used with caution on softer metals.
- Enzymatic cleaners: Excellent for cleaning organic materials like blood or protein residues on medical instruments.
- Solvents: Used for industrial purposes to remove heavy oils and resins, but these require proper ventilation and safety measures.
Concentration and Dilution:
Most cleaning solutions are concentrated and must be diluted with water according to the manufacturer’s recommendations. Using too much cleaner can create excessive foam, reducing cavitation efficiency. Conversely, using too little can result in poor cleaning performance.
3. Degas the Cleaning Solution
Newly prepared cleaning solutions often contain dissolved gases (such as air) that can inhibit the cavitation process. Degassing the solution involves removing these gases to improve cleaning performance. Most modern ultrasonic cleaners have a degassing function, but if your unit doesn’t, you can manually degas by running the machine for 5-10 minutes with the solution inside the tank before placing your items in it. This will allow the dissolved gases to escape, optimizing the cavitation process.
4. Set the Optimal Cleaning Temperature
Temperature is a crucial factor in ultrasonic cleaning. Warmer solutions can reduce the viscosity of oils and greases, making them easier to remove, and increase the efficiency of the cleaning process. However, the temperature should not be too high, as this may damage certain items.
- Optimal temperature: Generally, most cleaning solutions work best between 120°F and 150°F (50°C to 65°C).
- Delicate items: For items like electronics or delicate jewelry, lower temperatures are preferable to prevent damage.
- Heater: If your ultrasonic cleaner has a built-in heater, use it to bring the solution to the appropriate temperature before starting the cleaning cycle.
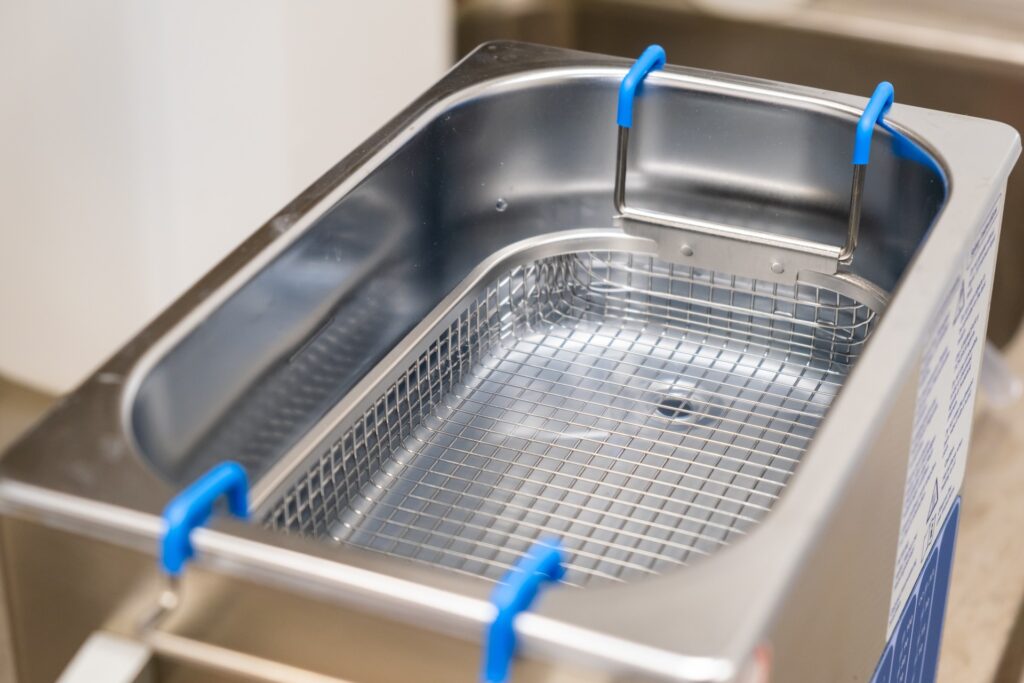
5. Arrange Items Correctly in the Cleaning Tank
Proper arrangement of items in the ultrasonic cleaner’s tank is essential for achieving the best cleaning results. Here are some tips:
- Avoid overcrowding: Do not overload the tank. Items should be spaced out and fully submerged in the cleaning solution. Overcrowding reduces the cleaning efficiency because cavitation bubbles may not reach all surfaces.
- Use a basket: Most ultrasonic cleaners come with a basket or tray. Always place items in the basket to avoid direct contact with the bottom of the tank, as the vibrations from the transducers could damage both the items and the cleaner.
- Keep items off the tank floor: Ensure that items are elevated from the bottom of the tank. Contact with the bottom can interfere with the ultrasonic waves and result in less effective cleaning.
- Orientation matters: For items with holes, crevices, or blind spaces (such as carburettors or intricate jewelry), angle them in the basket so that the cleaning solution and cavitation bubbles can easily reach all surfaces.
6. Adjust the Cleaning Time
The amount of time you run the ultrasonic cleaner depends on the level of contamination and the type of item being cleaned. Most ultrasonic cleaners will clean jewelry and similar items in 3-5 minutes. However, heavily soiled items like engine parts or dental tools may require a longer cleaning time, up to 10-20 minutes.
Key tips:
- Start short: For delicate items, start with shorter cleaning cycles and check the progress to avoid overexposure to the ultrasonic waves.
- Multiple cycles: For heavily soiled items, you can run multiple cycles rather than a single long one, allowing you to check the cleaning progress and avoid unnecessary wear on the items.
7. Monitor the Cleaning Process
Although ultrasonic cleaners are generally hands-free, monitoring the process ensures better results and prevents potential damage. Here’s what to watch for:
- Check for foaming: Excessive foam indicates that the cleaning solution is either too concentrated or there’s too much contamination. Change the solution or adjust the concentration as needed.
- Inspect the items periodically: For delicate or expensive items, pause the cleaning process every few minutes to check progress and ensure no damage is occurring.
- Avoid leaving items in too long: Over-cleaning can cause unnecessary wear, particularly on soft metals or gemstones.
8. Rinse Items After Cleaning
After the cleaning cycle is complete, rinse the items thoroughly with clean water to remove any remaining cleaning solution or contaminants. This step is especially important for jewelry, medical instruments, or Electronics recycling San Francisco, as residues from the cleaning solution can cause corrosion or tarnish if left on the surface.
- Use deionized or distilled water: For sensitive items like electronics or jewelry, use deionized or distilled water for rinsing to avoid leaving mineral deposits or water spots.
- Use a separate rinse tank: For high-precision cleaning applications, consider using a second ultrasonic tank filled with clean water for rinsing.
9. Dry Items Properly
Once your items are rinsed, they should be dried thoroughly before use or storage. Depending on the type of item, you can air-dry them, use a soft lint-free cloth, or blow-dry them using compressed air.
- Jewelry and small items: Pat dry with a soft cloth and let them air dry completely before wearing or storing.
- Delicate items: For delicate items such as electronics, ensure that all moisture is removed, especially from internal crevices, to prevent corrosion or short circuits.
10. Maintain Your Ultrasonic Cleaner
Proper maintenance of your ultrasonic cleaner is essential for ensuring its longevity and efficiency. Regular care will also improve the consistency of your cleaning results.
- Change the cleaning solution regularly: The cleaning solution loses its effectiveness after a few uses as it becomes saturated with contaminants. Replace the solution as needed, especially for heavy-duty cleaning jobs.
- Clean the tank: After each cleaning cycle, empty the tank and wipe it down with a clean, lint-free cloth. This helps remove any residual dirt or contaminants that may affect future cleaning cycles.
- Inspect for wear and tear: Regularly check the basket, tank, and transducers for signs of wear, cracks, or damage. Damaged components can reduce cleaning efficiency and may need to be replaced.
Ultrasonic cleaners are highly effective tools for deep cleaning a variety of objects, from jewelry and medical instruments to automotive parts and electronics. However, to get the best results, it’s important to choose the right cleaning solution, set the correct parameters (temperature, time, and frequency), and properly arrange your items in the tank. By following these best practices, you can maximize the cleaning power of your ultrasonic cleaner while ensuring the safety and longevity of your valuable items.
With regular maintenance and careful attention to detail, your ultrasonic cleaner will deliver professional-grade cleaning results time after time.